PRODUCT LIST
LICS-100
LICS-300
MCV-500
LB-500
SD-500
SQ-500
MCV-3500
MCV-2002
RT-100
MCV-4000
MCV-5000
LDS-1000 HP

PRODUCTS
The following is a list of different OPTODYNE instruments used for machine tool and CMM calibration work. Other component or system
manufacturers, that build items such as precision slides and "x-y" tables, also find these instruments useful in the engineering, manufacturing,
quality assurance and field service aspects of their products
Instruments Based on SINGLE Coaxial Beam Laser
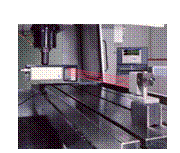
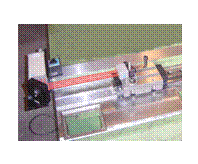
MCV-500: The MCV-500 Compact Linear Calibration System is designed to collect and analyze data for linear measurements and calibration of axes on machine tools, CMMs, or X-Y tables. The software enables the operator to automatically collect linear position data in accordance with various industry standards, including ISO and ASME B5. Material temperature, air temperature, and barometric pressure variations are automatically compensated. Range 15 m (option 50m).
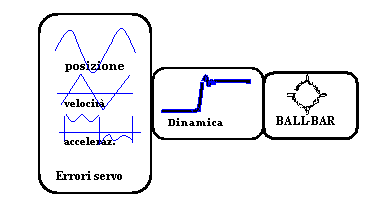
LB-500: The Laser/Ballbar option, allows the operator to check the contouring capability of the machine being tested. The revolutionary design of this system allows the operator to check a radius as small as 0.005 (0.125mm). The small size of the radius focuses on the servo and control systems of the machine. Speed of data collection dynamic between 1 to 10,000 data per second. Dynamic position Velocity and Acceleration can be measured in order to tune the servo systems.
SD-500: The SD-500 optional package, also called the VECTOR measurement or sequential step diagonal, allows the operator to check the volumetric accuracy of the machine. This unique measurement can output compensation data to volumetrically compensate the linear, straightness, and squareness errors of a 3-axis machine in as little as a quarter of the time required with conventional measurement techniques. The volumetric error can be reduced typically by 200-500%. Meets the requirements of ASME B5-54 and the NEW ISO230-6.
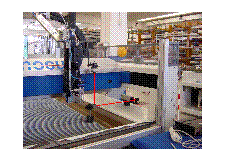
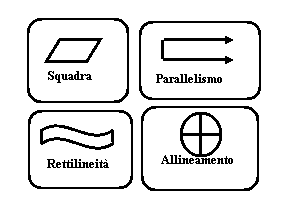
SQ-500: The SQ-500 is an optional package for the measurement of squareness and straightness. The package includes a quad-detector and an optical square. The laser produces an intense beam of red light which is a straight line of the greatest accuracy in a vacuum, the quad-detector is a sensitive position sensor which determines the centroid of the laser beam, and the optical square is an pentaprism which bends the laser beam exactly 90°.
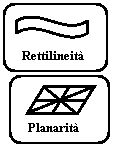
MCV-2002: The MCV-2002 Two interferometers operating at the same time utilizes a dual beam laser head module to accomplish simultaneous linear and angular (pitch or yaw, straightness, flatness) calibration of axes on machine tools, CMMs, or X-Y tables as well as surface plates. The software enables the operator to automatically collect linear and angular positions simultaneously or angular data on the fly in accordance with various industry standards. Material temperature, air temperature and air pressure variations are automatically compensated. Linear measurement range of 33-feet (10-m) with 1 microinch (10nm) resolution, and an angular measurement range of 16-feet (5-m) with 0.2-arcsec angular resolution. Optional ranges up to 200-feet (60-m) linear and 100-feet (30-m) angular are also available upon request.
RT-100: The rotary table calibration package can be used to calibrate rotary tables or stages with high accuracy and to calibrate the rotary axes of a 5-axis machine. Angular measurement range to 360 degrees in increments up to 10 degrees. Accuracy 0.2 arcsec(0.06 m degrees). Automatic compensation for mounting eccentricity.
MCV-4000: The MCV-4000 combines the measurement capabilities of both the MCV-2002 and SQ-500 for a complete calibration package


.gif)

